As the weather cools down in Huntsville, families start cleaning their fireplaces and getting ready for cozy nights at home. But scroll through Reddit’s home improvement threads this week, and you’ll see something else heating up—DIY frustration. From dark mortar stains to crumbling bricks, homeowners everywhere are posting photos of “small weekend projects” that turned into expensive lessons. Most of those stories start with one overlooked detail: the brick hearth.
Your brick hearth takes more abuse than you might realize. It handles heat, soot, and heavy use year after year. When it needs a refresh, many people assume it’s just a surface job. But like most things in masonry, what looks simple can quickly go wrong if you use the wrong materials or skip small steps.
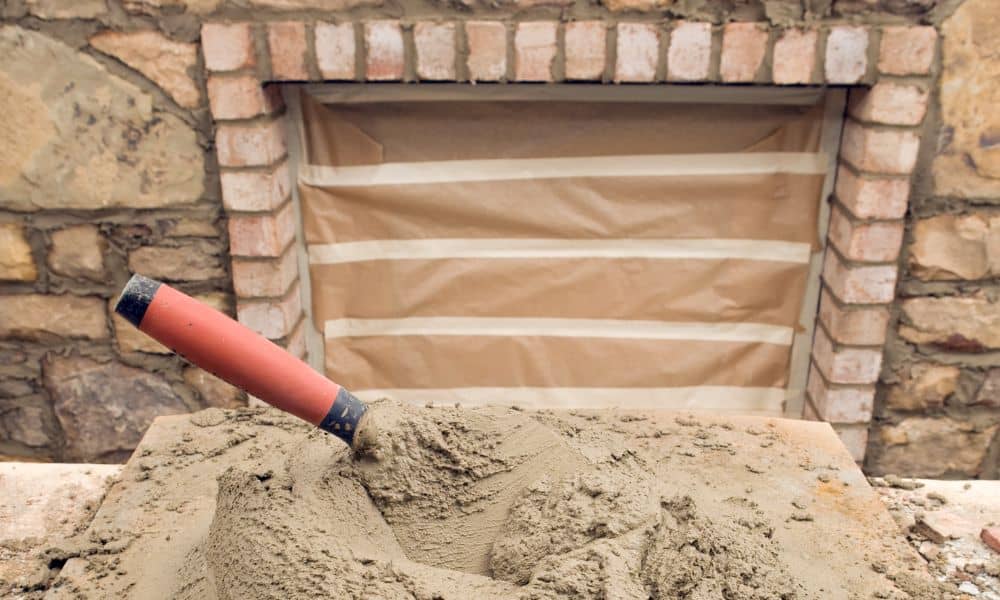
1. The Mortar Mix-Up: “Why Does My New Mortar Look So Dark?”
One of the top Reddit complaints this week came from frustrated DIYers staring at dark, uneven mortar joints on their fireplace hearths. They mixed, patched, and waited—but the color didn’t match their old brickwork. Some even tried to repaint the mortar lines to even it out.
Here’s the truth: mortar changes color as it dries and cures. When you use too much water, mix unevenly, or add “quick set” additives, the final color can turn patchy or permanently dark. It’s not a disaster—but it does mean your mix or technique was off.
If you’re working on a hearth repair, skip the concrete patch and grab Type N mortar instead. It’s made for indoor masonry and has the right flexibility for gentle heat exposure. Always mix in small batches, and do a small test patch first. Let it dry for at least 48 hours before judging the final shade.
Humidity also plays a big role here. North Alabama’s fall weather swings between damp mornings and dry afternoons, which changes how fast mortar cures. The slower it dries, the truer the color. Patience is your friend—don’t rush to seal or paint it right away.
2. The “Modern Makeover” Gone Wrong: Painted or Decorative Hearth Bricks
Painting brick has become one of the most popular home trends on social media. But as one Reddit user learned the hard way, that trend doesn’t translate well to fireplace hearths. Within weeks, their once-smooth white bricks started bubbling and peeling near the firebox.
A brick hearth gets hot—sometimes over 400°F near the opening. Standard latex paint or water-based sealers simply can’t handle that. When exposed to heat, they soften, discolor, and trap moisture behind the surface. The result? Flaking paint, hairline cracks, and even a burnt smell the next time you light a fire.
If you really want to update the look of your fireplace, there are safe ways to do it. Use fire-rated bricks or refractory mortar for any section within six to eight inches of flame contact. For color, choose a heat-resistant coating designed for high-temperature surfaces (1,200°F or higher). These products come in matte or satin finishes that mimic natural brick without peeling or smoking.
In Huntsville, where traditional brick homes often mix old and new materials, many homeowners add decorative veneers or thin stone to match updated interiors. Just remember: even a veneer needs proper backing and high-temp mortar. Don’t glue it on with construction adhesive—it’ll melt long before winter ends.
3. The Messy Joint Problem: “I Know It’s Bad, But…”
If you’ve ever seen Reddit posts titled something like “I know it’s bad but…,” you’ve probably seen messy mortar joints. Overfilled seams, uneven lines, or mortar smeared across brick faces are easy to spot. They may seem like cosmetic mistakes, but they also cause real problems over time.
When joints aren’t tooled or cleaned correctly, they trap soot and ash. Those stains darken quickly, especially on a light-colored brick hearth. Worse, thick joints shrink as they cure, leading to small gaps that pull away from the brick edges. That’s where heat and moisture start creeping in.
The fix is surprisingly simple but requires timing. After you apply fresh mortar, wait until it firms up—about 30 to 60 minutes depending on temperature and humidity. When it’s just firm enough to leave a thumbprint, strike the joints using a concave jointer tool. That shape compresses the mortar, seals out soot, and leaves a professional finish.
Then, wait again. Once the joints are fully dry, use a soft brush or a pH-neutral cleaner to remove surface haze. Avoid acid-based products—they can bleach the mortar or etch the brick. If you’re unsure about what to use, local masonry suppliers in Madison County often carry cleaners made for interior fireplaces.
Keeping Your Hearth Safe and Stylish
Unlike foundation cracks or retaining walls, a hearth isn’t a structural concern—it’s an aesthetic and safety feature. It protects your flooring from embers and adds character to the room. That’s why it deserves attention beyond surface looks.
Before winter officially arrives, take a few minutes to check your hearth. Are the bricks fire-rated? Are the joints sound? Is the surface clean and free of loose debris? If you spot any problems, fix them before lighting your first fire of the season.
And if you’re not sure what you’re looking at, call a local brick mason for a quick inspection. Professionals can repoint loose joints, replace heat-damaged bricks, and restore your hearth without breaking the original design.
Lessons from Reddit (So You Don’t End Up Posting There Too)
Reddit is full of smart, creative homeowners who love sharing their projects. But it’s also where you’ll find what happens when good intentions meet bad materials. Every “oops” post about a brick hearth tells the same story—small shortcuts lead to big frustrations.
The good news is that masonry doesn’t have to be intimidating. With the right mix, proper timing, and heat-safe materials, you can keep your fireplace beautiful for decades. Whether you’re repainting, repointing, or rebuilding, slow down and plan it like a pro would.
Your hearth sets the stage for countless winter memories—family nights, coffee by the fire, maybe even a few holiday photos. Don’t let a DIY mistake steal that charm. If you take care of it now, your fireplace will be ready to glow all season long—and your next post might just be a proud “after” photo instead of an “oops.”